Your Cart is Empty
The Shop


How to Publish a Board Game
Over the years we've had hundreds of aspiring board game designers ask us about the process of publishing a board game. We’ve created this handy little guide to help you on your way!
1. Come up with an initial idea for a game
This can be based around a game mechanic that you like from another game, a combination of multiple mechanics, a specific theme, a general idea, or anything from life (any person, place, or thing). Take that idea and build something from it! We find our inspiration from traveling, reading books, watching movies, playing other games, and thinking of interesting concepts from economics and history.
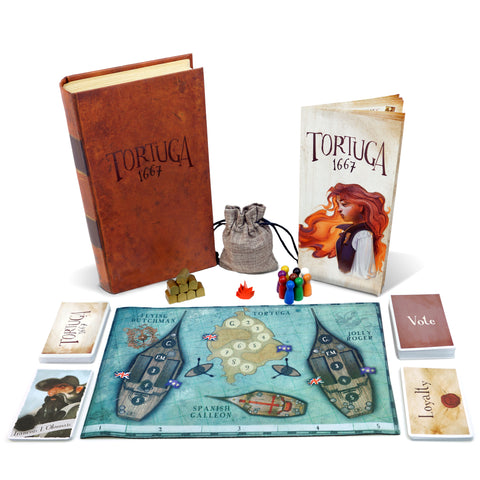
2. Make a prototype
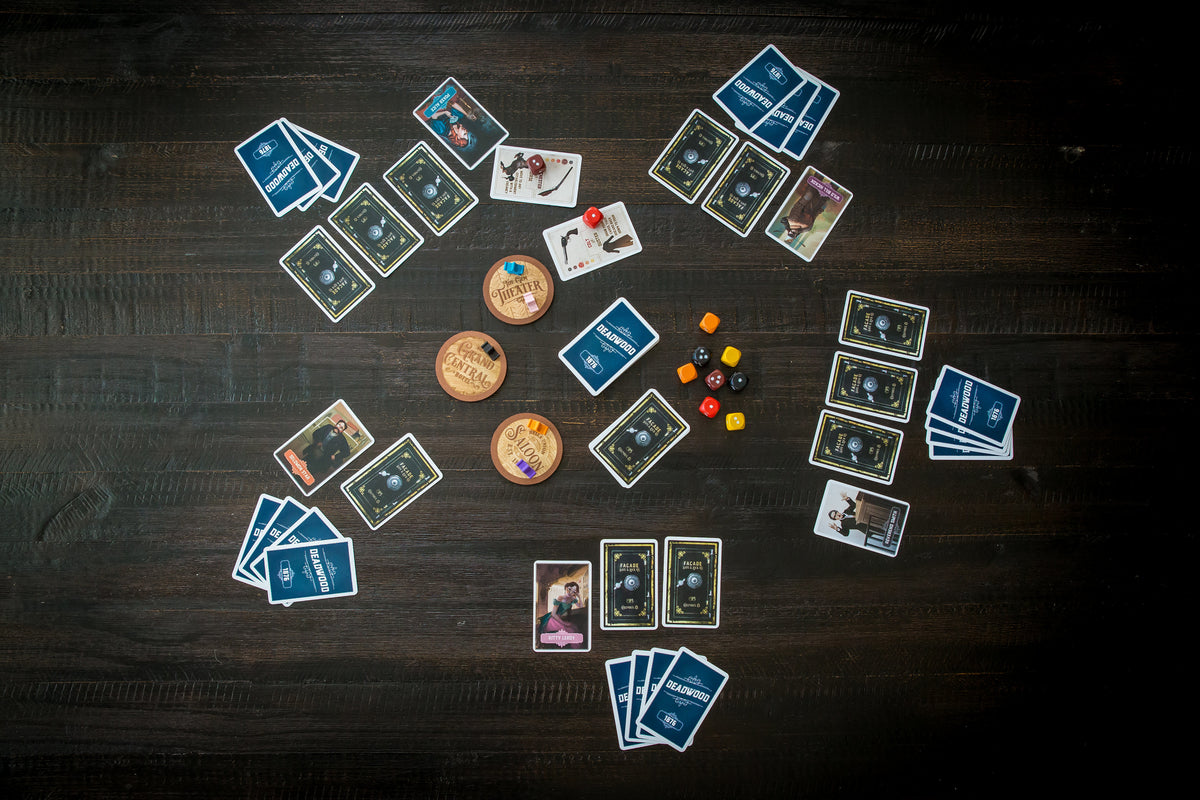
This can and should be ugly. The uglier it is, the more people will be able to focus on the core rules and concepts of the game. It can be made of card stock from your printer and coins and bits you find around the house. As long as it is functional for testing, then it will work! We use Google Docs to write our rules, and Google Slides to make our cards. Each time we make a new version we duplicate those docs, change the version number on top, and archive the now out-of-date version. This lets us keep a record of past versions, in case we want to revert back to something that was working well. In Google slides we created a large table so that each section is as big as a card, and then write inside each section what text and image we want on the card. Each slide contains 12 cards.

3. Test, test, test!
Get a weekly group together, or go to a game convention. Hold a game night or go to local or university board game club. Each time you test, notice what works and what doesn’t. Subtract the bad, add some new. Strip the game down to its core and make it as simple as possible while keeping the intrigue high. Your final game will look nothing like your initial idea,and that’s ok. Our games are literally tested hundreds of times and go through about a hundred different versions. The final game is often completely different from where we started.
Always remember that your baby is ugly! Of course you are going to love your game, and of course your close friends and family are going to love your game (at least that’s what they’ll tell you). So be sure to realize that your game isn’t as fun as you think it is. Test it with strangers, or test with a group enough so that they’ll be honest about what isn’t working. We hold a weekly game night at our house. This forces us to make good changes each week, and gives us a group of people who get to be part of the innovative process and help us find the flaws quickly.
4. Give your game a theme
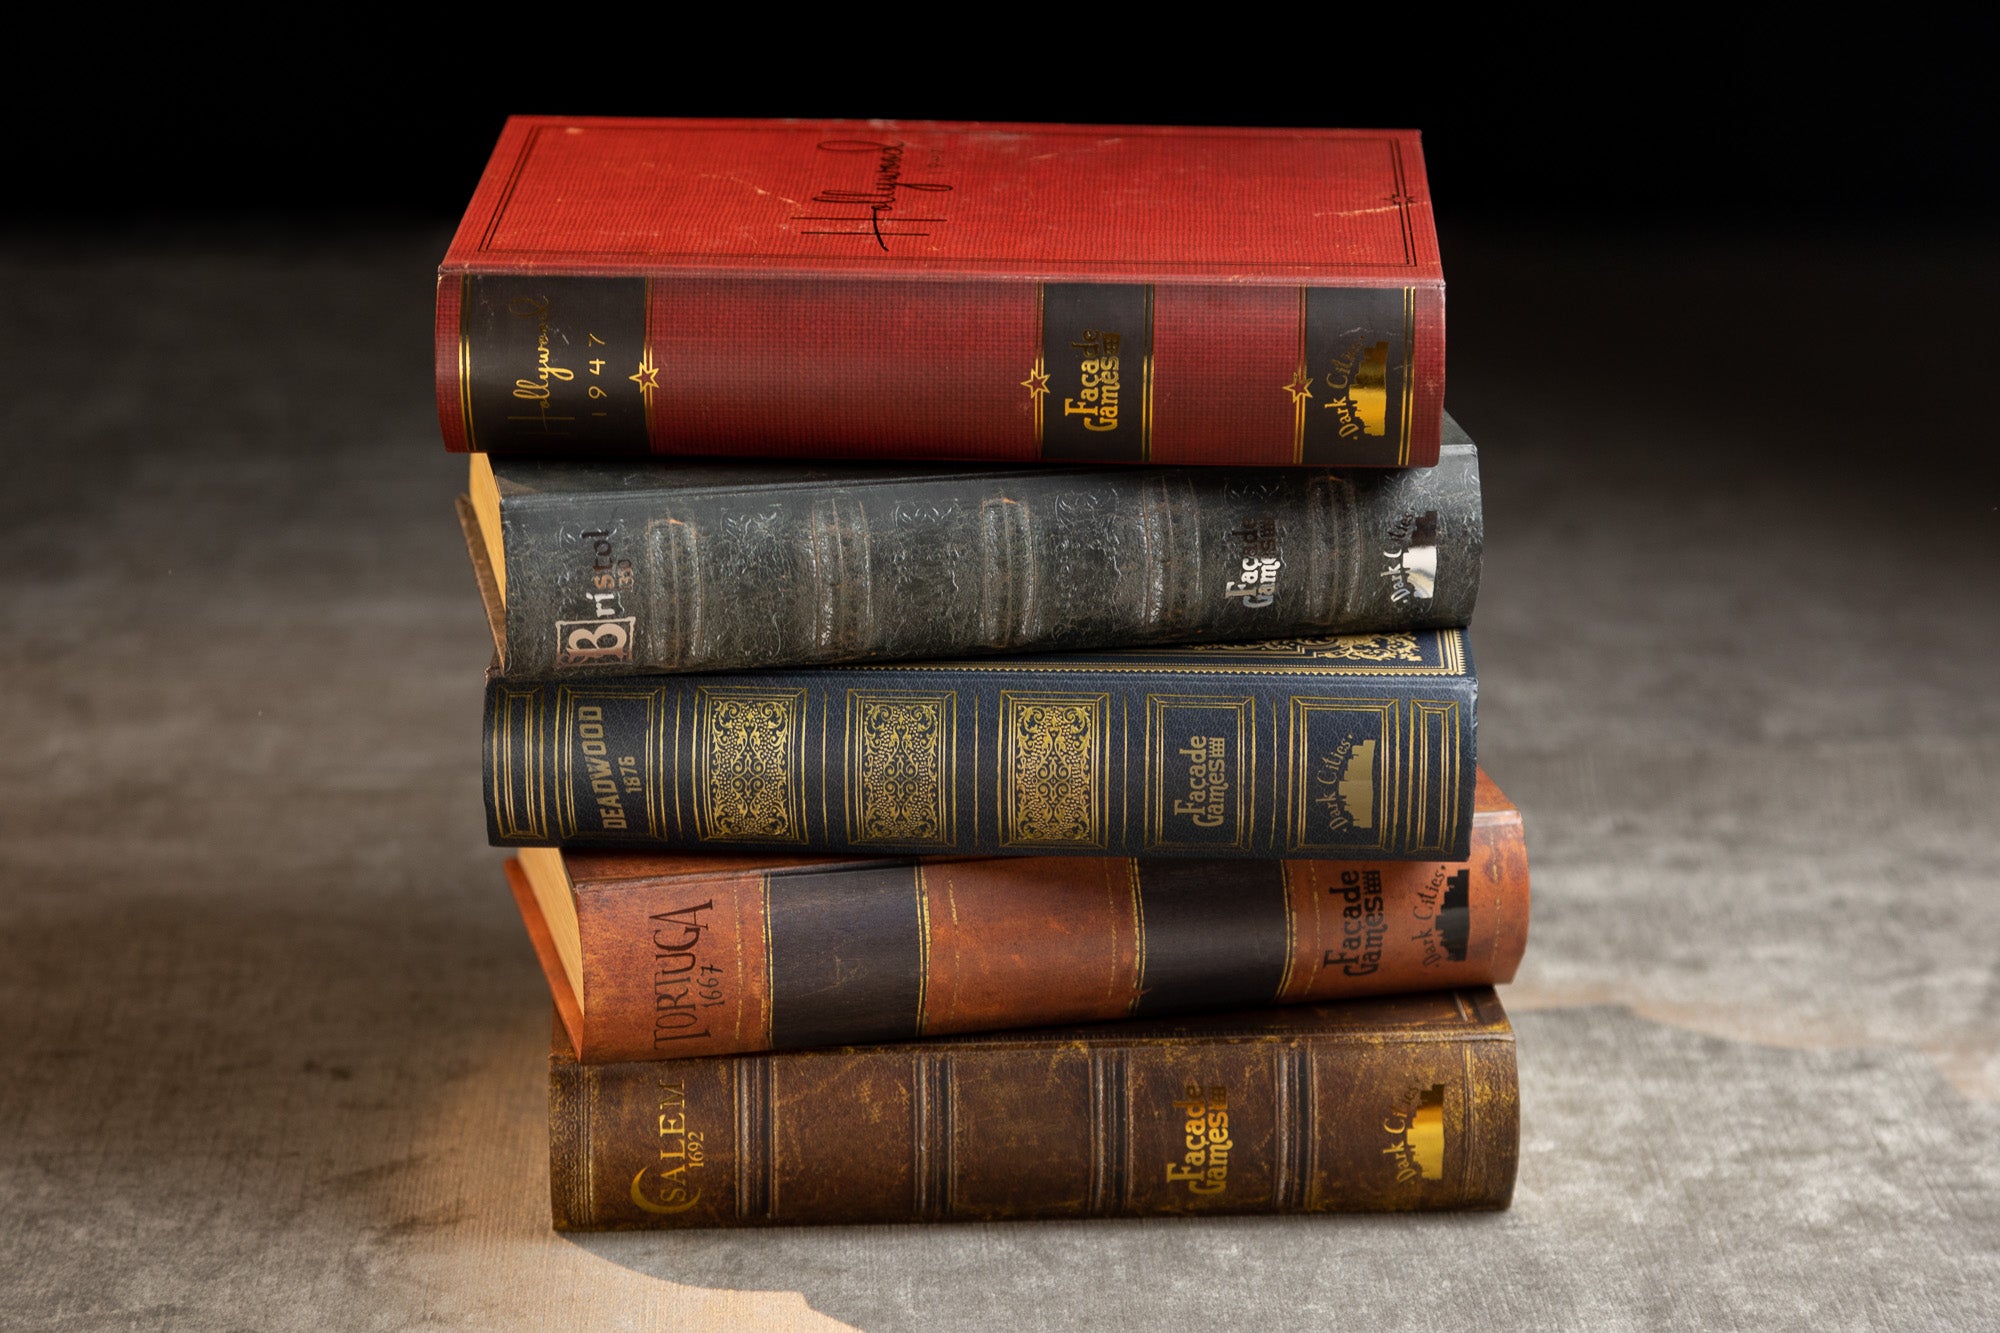
This can happen alongside steps 1-3 and can sometimes even be the initial spark for step 1. Find a theme that matches the game play and makes sense. For a few of our games, we chose witches, pirates, and cowboys! Whatever your theme, make sure that your rules, components, and mechanics all people into the world of the theme. Make your game an immersive experience.
5. Decide if you want to publish your game, or license it to another company
At this point you can reach out to established game companies and see if they are taking game submissions. If yes, then you can send them your rules and they’ll decide if they’d like to publish it. If they do, then they’ll take it from here! You will only get about 3-5% royalties, which doesn’t amount to a lot, but it also means that your game will be in good hands and will more likely see the light of day and become a reality. But keep in mind that it is hard for games to get picked up since companies get lots of submissions. So self-publishing may be the way to go. You can see our Submissions page about our company's specific guidelines.
6. Find an illustrator
 If you have decided to self-publish, now is the time to find an artist! We found our incredible artist on a university job board. There are also places online like upwork.com and fiverr.com where you can look. You can also just keep your eyes open. Any painting you see or poster or advertisement or cards in your favorite board game were designed by someone! And often you can find the artist’s name. Google them, contact them, and see if they’d like to be a part of your project. Often you will get what you pay for. The more experienced artists are going to charge more. That’s life! Some publishers will offer their artist a percentage of whatever they make on Kickstarter. So you could see if they are interested in something like that. You also don’t need to pay for every card to be designed right away. But you need enough designed so that your game looks complete and ready when you show it to people when you are trying to get funding for the game.
7. Find a graphic designer
Sometimes step 6 and step 7 can be the same person. In our case, we have taken the finished illustrations from our artist and then my wife Holly has put them onto cards and the boards, etc. She adds borders and fonts and brings the whole look together. This is a big step so don’t ignore it. Holly is a semi-professional designer, so usually it’s not as simple as just doing it yourself. We use Adobe Illustrator and Photoshop for our graphic design work.

8. Make a pretty prototype
Create your finished game! You can pull together each piece using places like makeplayingcards.com (cards), 3dhubs (3D printed pieces), inked gaming (play mats), game crafter (various game pieces), etc. You want your game to look exactly like it will when it is manufactured. This is important for people so that they can see your whole vision.
9. Contact a factory
Reach out to a factory and tell them what pieces your game needs to have. They will then get you a quote for how much each component will cost. They’ll also tell you how many you have to order for them to produce it (usually around 1,000 units). Sometimes they will also create a full sample of the game for you (usually around $200) so that you don’t have to worry as much about step #8. Some easy factories to work with for new designers are Panda Games (pandagm.com), Longpack, Gameland, Whatz Games, etc. Panda Games has a great quote builder on their site that you can use to better understand what types of materials you want to use in your game. Here’s a great list of manufacturers.
10. Build a Kickstarter page and launch!
We have written a whole article about Kickstarter, and we encourage you to read it! If you have enough money on hand to cover the minimum quantity indicated by your factory, then you can also just skip Kickstarter and make your game right away. But Kickstarter is great because it gets people excited about your product and lets you know if you’ll need to make more than the minimum quantity.
11. Manufacture your game
Now that you have the funds, it’s time to make your game! Hopefully by this time you’ll already have sent designs to your factory and they’ll be ready to start production. Make sure you communicate a LOT with your factory to make sure everything is how you envision for your game. Ask them to send you digital and physical samples as often as possible so that you can make sure everything is being made correctly.

12. Send the games from your factory to your fulfillment center
Oftentimes your fulfillment center (see step 13) or the factory can help arrange freighting your games across the ocean from your factory to the fulfillment center. It takes about 6-8 weeks for this process. Be sure to factor in the cost of freight when you’re funding the game in step 10.
13. Fulfillment
Now that the games are at your fulfillment center, send them to your backers! Some good companies to reach out to for board games are Quartermaster, Easyship, Spiral Galaxy (EU/UK) and Floship (International). There are also many local "3PL" companies that can help you out. If you haven’t made a lot of games, or you don’t have many backers, you can also handle shipping yourself if you’re up for the work! But oftentimes a fulfillment center can get better postage prices anyways, so it makes sense to use them.
14. Ongoing sales
Now you sell your game! You can sell it through a website like ours, list your game on Amazon, or reach out to local game stores and see if they would sell your product. You can also reach out to distributors and see if they’ll carry your game and sell it to stores for you. We work with a consolidator called PSI who sells our game to distributors who then sell them to retailers.
That’s it! You’re now a game publisher! It's a lot of work, but it's also a lot of fun.
Another great resource is this guy.
We also received thousands of questions during two "Ask Me Anythings" on Reddit. You can see those here and here.
We also recently gave a TEDx talk about our process.
Best of luck!
